Contents:
- Understanding Your Dyson Hair Dryer Model
- Preparing Hair Before Blow-Drying
- Pre-Drying Steps
- Sectioning for Efficient Drying
- Dyson Hair Dryer Settings and Controls
- Heat Settings Overview
- The Air Amplifier Technology
- Attachment Guide and When to Use Each
- The Smoothing Nozzle
- The Diffuser Attachment
- The Hair Styling Brush
- Step-by-Step Drying Technique
- Rough Drying Phase
- Styling Phase
- Final Finishing
- Common Mistakes to Avoid
- Cost Analysis: Is Dyson Worth It?
- Maintaining Your Dyson Hair Dryer
- FAQ: Using Your Dyson Hair Dryer
- How long should blow-drying take with a Dyson?
- Can I use my Dyson dryer on wet hair straight from the shower?
- Should I always use a heat protectant?
- What’s the difference between the Supersonic and Supersonic R?
- Is the Dyson dryer suitable for all hair types?
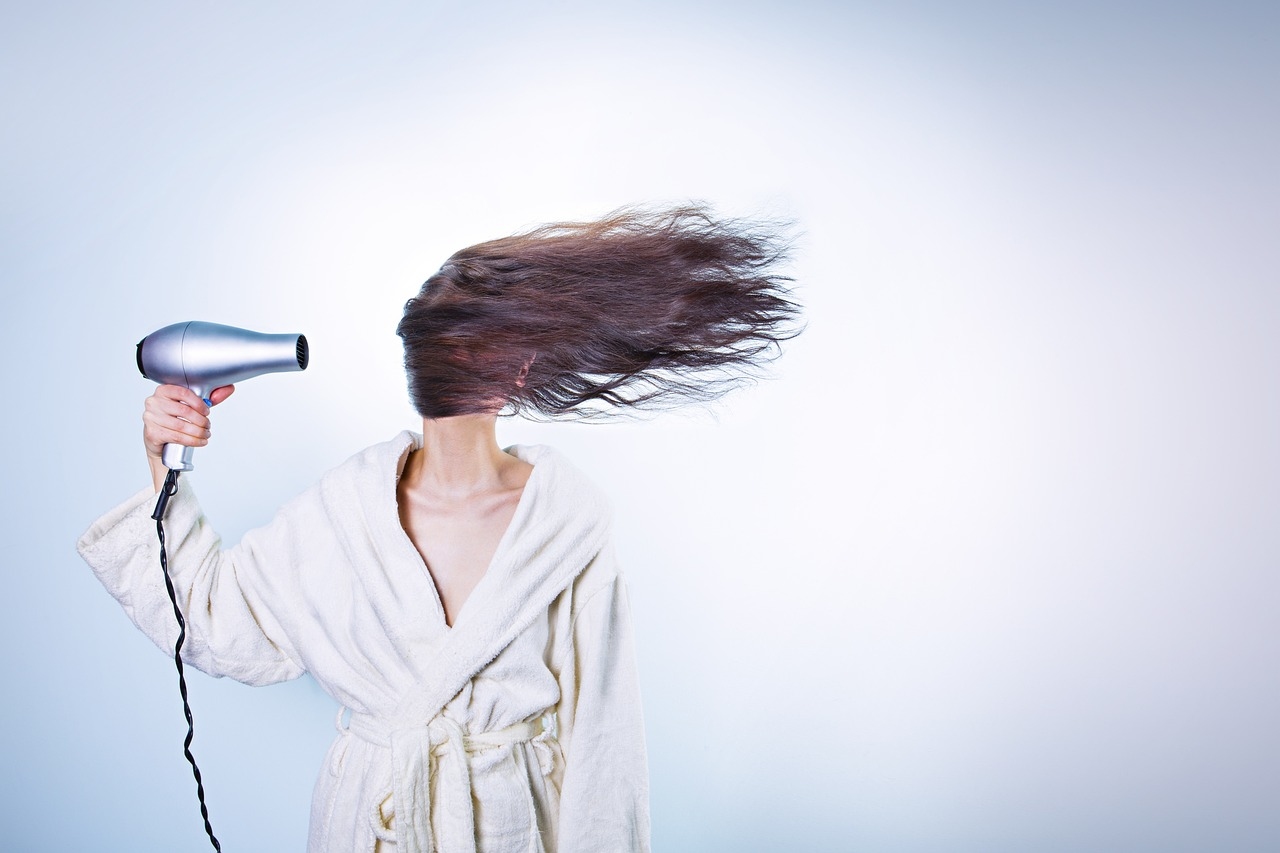
A common misconception suggests that expensive hair dryers like Dyson require special technique or skills to use effectively. In reality, how to use dyson hair dryer successfully comes down to understanding your specific model, matching attachments to your hair type, and applying straightforward drying techniques. Dyson hair dryers cost £199 to £399 in the UK, making them significant investments that deserve proper technique. This comprehensive guide explains every function, attachment, and technique needed to maximise your Dyson’s capabilities and achieve professional results at home.
Understanding Your Dyson Hair Dryer Model
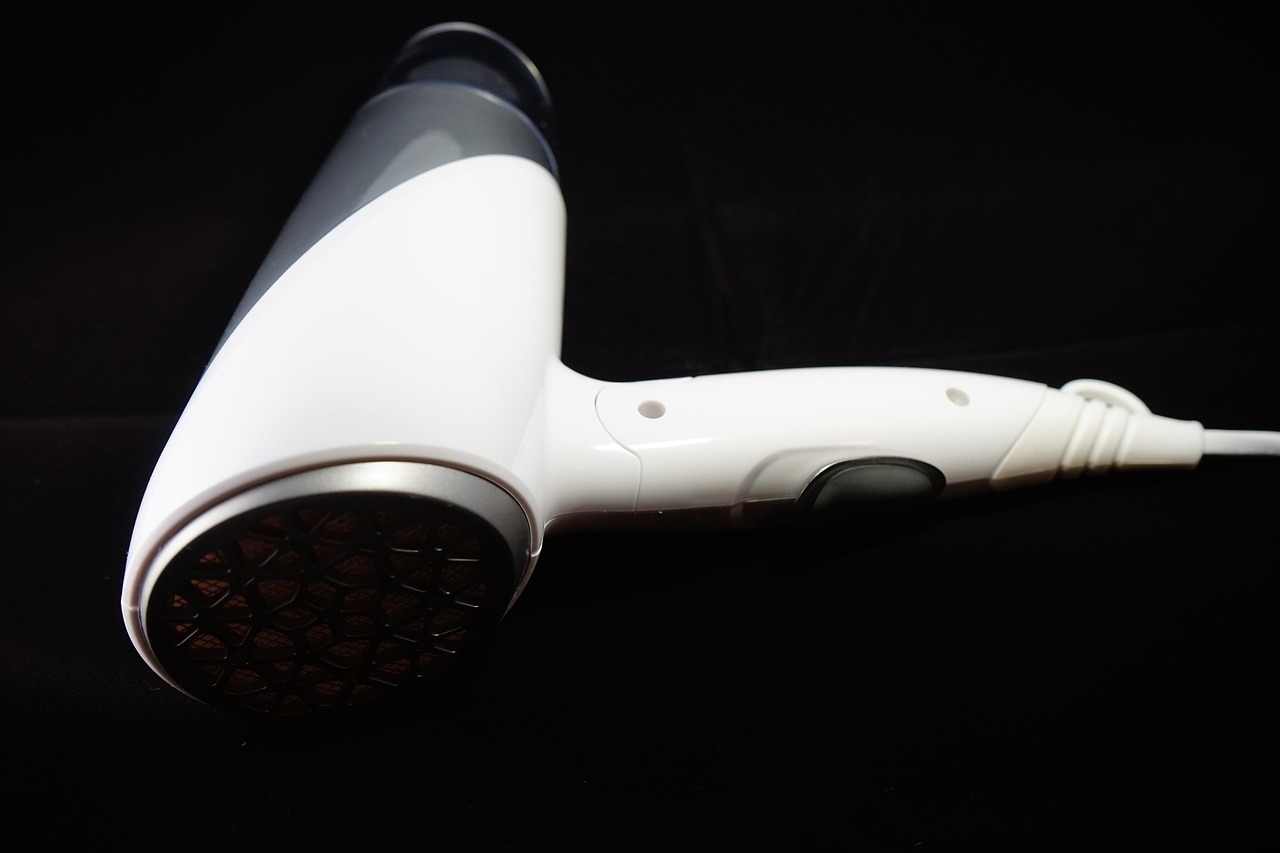
Dyson manufactures several hair dryer models: the Dyson Supersonic, Dyson Supersonic R, and Dyson Supersonic Nonic (released 2026). Each features slightly different heat technology, but all operate on the same fundamental principles. The Supersonic uses digital motor technology providing three times more speed (approximately 110,000 revolutions per minute) than conventional dryers. This speed creates airflow force that dries hair faster whilst reducing heat exposure by 30% compared to standard dryers running at higher temperatures.
Before first use, unpack your Dyson, charge the battery fully (if cordless), and familiarise yourself with all attachment pieces. The standard box includes: a smoothing nozzle, diffuser, styling concentrator, and hair styling brush. Each attachment serves specific purposes; using them correctly amplifies your results dramatically.
Preparing Hair Before Blow-Drying
Pre-Drying Steps
Never begin blow-drying with soaking wet hair. Excess water wastes time and heat on moisture removal rather than styling. Squeeze your hair firmly in your hands, removing water until hair drips only gently rather than streaming. Alternatively, wrap hair in a microfibre towel for 5 to 10 minutes to absorb excess moisture whilst protecting the hair cuticle.
Apply heat protectant spray to damp hair before any blow-drying. Dyson’s high-speed airflow and concentrated heat require protection even though the drying time is reduced. Products like Cloud Nine Heat Protect Spray (£18) or Tresemmé Heat Protect Spray (£5) form a protective barrier reducing heat damage by 30% to 40%.
Sectioning for Efficient Drying
Divide damp hair into four sections using clips: two front sections, two back sections. Finer or shorter hair can use two sections (front, back). Thicker hair benefits from six to eight sections. This systematic approach ensures every strand receives adequate air exposure and drying time. Begin with the back sections, progressing toward the face last. This sequence allows dried sections to cool whilst you work on remaining areas.
Dyson Hair Dryer Settings and Controls
Heat Settings Overview
The Dyson Supersonic features three heat settings: hot, medium, and cool. The hot setting (60°C) is appropriate for normal drying; medium (approximately 45°C) suits fine or delicate hair; cool is for finishing and sealing the cuticle. Temperature varies based on distance from hair—closer distance creates more concentrated heat.
Speed settings include three levels. Level 3 (highest speed) provides maximum airflow for quick drying of thick or very wet hair. Level 2 works best for most situations, balancing drying speed with styling control. Level 1 suits delicate hair or final styling passes where you need precision rather than volume.
Pro tip from Marcus Chen, an editorial hairstylist in London with 12 years’ experience: “Most people use maximum heat and speed unnecessarily. Start on medium heat and level 2 speed—you’ll achieve excellent results with less hair stress. Only increase intensity if drying takes longer than 15 minutes for shoulder-length hair.”
The Air Amplifier Technology
Dyson’s core technology uses the “Air Amplifier”—a sealed chamber that multiplies incoming air, outputting 13 litres of air per second. This explains why Dyson dryers dry faster than traditional models despite sometimes using lower temperatures. You’re feeling force and speed rather than heat. Hold the dryer 10 to 15 centimetres from hair; closer positioning increases heat concentration, further distance reduces it.
Attachment Guide and When to Use Each
The Smoothing Nozzle
This concentrator focuses airflow into a narrow stream, ideal for straightening or smooth styling. Use the smoothing nozzle for final passes after rough drying, particularly on medium to thick hair. Direct the nozzle downward along the hair shaft, smoothing from roots to ends. This direction seals the cuticle, creating shine and smoothness.
The smoothing nozzle works best on damp (not soaking wet) hair. Begin rough drying with just the dryer (no attachment) on level 2 or 3 heat, then switch to the smoothing nozzle once hair is approximately 60% dry for final finishing.
The Diffuser Attachment
The diffuser disperses airflow across a wider area with deeper cups designed to enhance wave or curl patterns. Use it exclusively on curly, wavy, or textured hair types. The diffuser works by cupping the curls and allowing them to dry whilst maintaining their shape, rather than directing air that would disrupt the curl pattern.
Attach the diffuser when hair is 30% to 40% dry. Angle your head forward and position the diffuser at the scalp, then move upward toward the crown. Move it around your head methodically; avoid hovering in one spot for more than 10 seconds, as this can create frizz. Rough drying (without attachments) to 30 to 40% dryness, then finishing with the diffuser, typically takes 12 to 15 minutes for shoulder-length curly hair.
The Hair Styling Brush
This barrel-shaped attachment combines the dryer’s airflow with a brush bristle structure, creating volume and wave in one simultaneous action. Use it on damp hair for blow-dried waves, bouncy volume, or soft curls. The styling brush works particularly well for fine or thin hair that needs volume boost.
To use the styling brush: rough dry to 50% dryness, then attach the brush. Wind a section of hair around the brush barrel, applying slight tension, and move the brush toward the scalp. Hold for 5 to 10 seconds allowing the heated air to set the wave, then release. Move to the next section and repeat.
Step-by-Step Drying Technique
Rough Drying Phase
Attach no nozzle or diffuser initially. Use level 2 or 3 speed (depending on hair thickness) and hot or medium heat. Work section by section, starting at the back lower sections. Hold the dryer approximately 10 to 15 centimetres from hair, directing airflow toward roots then along the lengths. Your goal is removing 50 to 60% of moisture, not complete drying.
Rough drying typically requires 5 to 8 minutes for shoulder-length hair. You’ll feel the resistance decrease as moisture leaves. Continue until hair feels damp but not dripping, and hair begins to hold its natural shape.
Styling Phase
Once hair reaches damp-but-not-soaking status, attach your chosen finishing tool (smoothing nozzle, diffuser, or styling brush depending on desired result). For straight or smooth finishes, use the smoothing nozzle. For curly/wavy finishes, use the diffuser or styling brush.
Switch to medium heat and level 2 speed. Work more slowly and deliberately during this phase—you’re creating the final style, not just removing moisture. Hold each section under the airflow for 10 to 15 seconds (or 5 to 10 seconds with the styling brush). Finish each section with a 3 to 5 second blast of cool air (the cool setting), which sets the style and seals the cuticle.
Final Finishing
Once all sections are dry, run the smoothing nozzle across your entire hair surface using cool air, directing from roots to ends. This final pass seals the cuticle across all hair, creating shine and smoothness regardless of your chosen style. The cool air also helps set any waves or curls from the styling phase.
Common Mistakes to Avoid
Using maximum heat constantly: The Dyson’s speed does the work. Medium heat and level 2 speed achieve excellent results faster than high heat and high speed on conventional dryers. Start conservatively and increase only if drying takes too long.
Holding the dryer too close: Holding closer than 10 centimetres concentrates heat too much, potentially causing damage. The 10 to 15 centimetre distance is optimal—far enough for safety, close enough for control.
Rough drying for too long: Continuing rough drying past 60% moisture wastes time and heat exposure. Switch to your finishing attachment once hair reaches damp status. The styling attachments work best on damp, not soaking wet, hair.
Skipping the cool finish: The final cool air blast is critical for sealing results. Without it, your style loses definition and shine drops. Always finish with cool air, even if it’s just 5 seconds.
Ignoring battery level: The cordless models require charging between sessions for thicker hair. Monitor battery level during drying; the dryer will underperform if battery drops below 20%. Charge fully before blow-drying thick or very long hair.
Cost Analysis: Is Dyson Worth It?
A Dyson hair dryer costs £199 to £399 compared to £30 to £100 for conventional models. The difference breaks down to technology and speed. A conventional dryer drying shoulder-length hair might require 20 to 25 minutes; a Dyson typically requires 12 to 15 minutes. For daily users, this time saving adds up to several hours yearly.
Durability also factors in. Dyson dryers typically last 5 to 7 years with regular use; budget dryers often need replacement within 2 to 3 years. Cost per year: Dyson approximately £40 to £80 annually; budget dryers approximately £15 to £50 annually. The difference is modest when amortised over product lifespan.
The real value proposition for most people: faster drying, professional-quality results, and reduced heat damage from shorter drying times. Whether this justifies the upfront cost depends on your budget and styling priorities. If you blow-dry daily and want professional results, the investment typically returns value within 18 to 24 months.
Maintaining Your Dyson Hair Dryer
Keep the air intake clear of hair and lint. Weekly, remove visible debris by gently brushing the intake grille. Monthly, use compressed air to remove deeper dust accumulation (approximately £4 to £8 per can). A clean dryer maintains maximum airflow efficiency, ensuring consistent performance.
Store in a cool, dry location. Avoid wrapping the cord tightly immediately after use—allow the dryer to cool fully first. Battery-powered models should be stored with 20 to 40% charge, not fully charged or fully depleted. This extends battery lifespan to 5 to 7 years rather than 2 to 3 years.
FAQ: Using Your Dyson Hair Dryer
How long should blow-drying take with a Dyson?
For shoulder-length hair, expect 12 to 15 minutes total (rough dry plus finishing). Longer hair takes proportionally longer; short hair shorter. If drying takes longer than 20 minutes for shoulder-length hair, your battery may be low or the air intake may need cleaning.
Can I use my Dyson dryer on wet hair straight from the shower?
Yes, but squeeze excess water first. Soaking wet hair requires far more time and heat exposure. Pre-squeeze in your hands or wrap in a microfibre towel for 5 to 10 minutes. This approach cuts drying time by approximately 5 minutes and reduces heat stress on your hair.
Should I always use a heat protectant?
Yes, even with Dyson’s reduced-heat technology. The high-speed airflow and any heat above room temperature benefit from protection. This is especially important for fine, delicate, or previously damaged hair.
What’s the difference between the Supersonic and Supersonic R?
The Supersonic R (released 2024) adds ionisation technology reducing frizz approximately 10% more than the standard Supersonic. The R also includes slightly improved controls and comes in additional colours. Performance difference is subtle; either model produces excellent results. Choose based on budget and aesthetic preference.
Is the Dyson dryer suitable for all hair types?
Yes. The range of heat settings and attachments (diffuser for curly, straightening nozzle for straight, styling brush for wavy) accommodates every hair type. The key is matching your attachment to your hair texture and using appropriate heat settings.
Mastering how to use dyson hair dryer properly elevates your at-home styling from acceptable to professional quality. The tool’s key advantage isn’t just speed—it’s that speed comes from force and technology rather than excessive heat. Start with medium settings and appropriate attachments for your hair type. Develop consistent technique through practice: rough dry to 60%, then finish with your chosen attachment using cool air sealing. Within three to four sessions, this process becomes intuitive, and you’ll achieve results previously requiring professional blow-dry services.
+ There are no comments
Add yours