Contents:
- Understanding How a Curling Iron Actually Creates Curls
- Selecting the Right Curling Iron for Your Hair Type
- Barrel Size and Curl Type
- Ionic vs. Non-Ionic Technology
- How to Curl Hair with a Curling Iron: Step-by-Step Technique
- Step 1: Prepare Your Hair
- Step 2: Section Your Hair
- Step 3: Position the Curling Iron Correctly
- Step 4: Rotate and Wrap the Hair
- Step 5: Hold and Heat
- Step 6: Release Gently
- Step 7: Cool the Curl
- Temperature Guidelines for Different Hair Types
- Regional Differences in Curling Iron Usage: UK Context
- Common Mistakes When Using Curling Irons
- Heat Protectant and Styling Products: What Actually Helps
- FAQ: Curling Hair with a Curling Iron
- How long do curls from a curling iron last?
- Can you curl hair that has already been straightened the same day?
- What’s the difference between a curling iron and a wand?
- Can you curl very short hair with a curling iron?
- How often is it safe to curl your hair with heat?
- Mastering Curling Iron Technique Today
The difference between mediocre curls and salon-quality curls comes down to technique, not equipment. Most people own a curling iron but produce limp, uneven results because they’re using the tool incorrectly. How to curl hair with a curling iron properly requires understanding heat mechanics, hair structure, and the precise motions that create defined, long-lasting curls rather than loose waves that drop within hours.
Quick Answer
Curl hair with a curling iron by sectioning dry, product-treated hair, wrapping hair around the barrel at an angle, holding for 8-12 seconds, and releasing gently. Temperature matters: 160-180°C for fine hair, 180-200°C for medium hair, 200-230°C for thick/coarse hair. The technique, not the iron itself, determines curl quality. Most beginners either don’t wrap hair tightly enough or don’t hold the curl long enough for it to set.
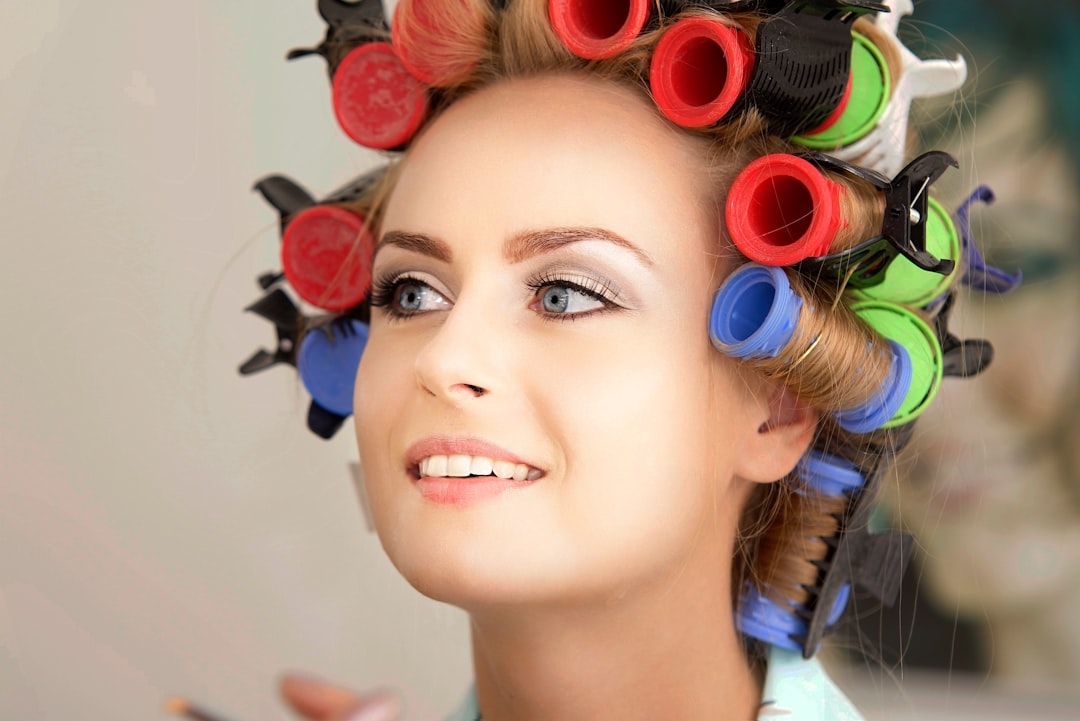
Understanding How a Curling Iron Actually Creates Curls
A curling iron is essentially a heated metal barrel. When you wrap hair around this hot barrel, the heat temporarily alters hydrogen bonds in your hair’s protein structure. These bonds hold your hair in whatever shape it currently occupies. Heat weakens these bonds, allowing them to reform in a new configuration—curved around the barrel. As the hair cools, the new shape sets permanently (or semi-permanently, lasting 1-3 days).
This is why timing and temperature matter critically. If your iron isn’t hot enough, the bonds don’t weaken sufficiently, so the curl doesn’t form. If your iron is too hot, it damages the hair protein beyond temporary reshaping, causing permanent damage (breakage, brittleness, frizz). The sweet spot—hot enough to create a reliable curl, cool enough to avoid damage—varies by hair type.
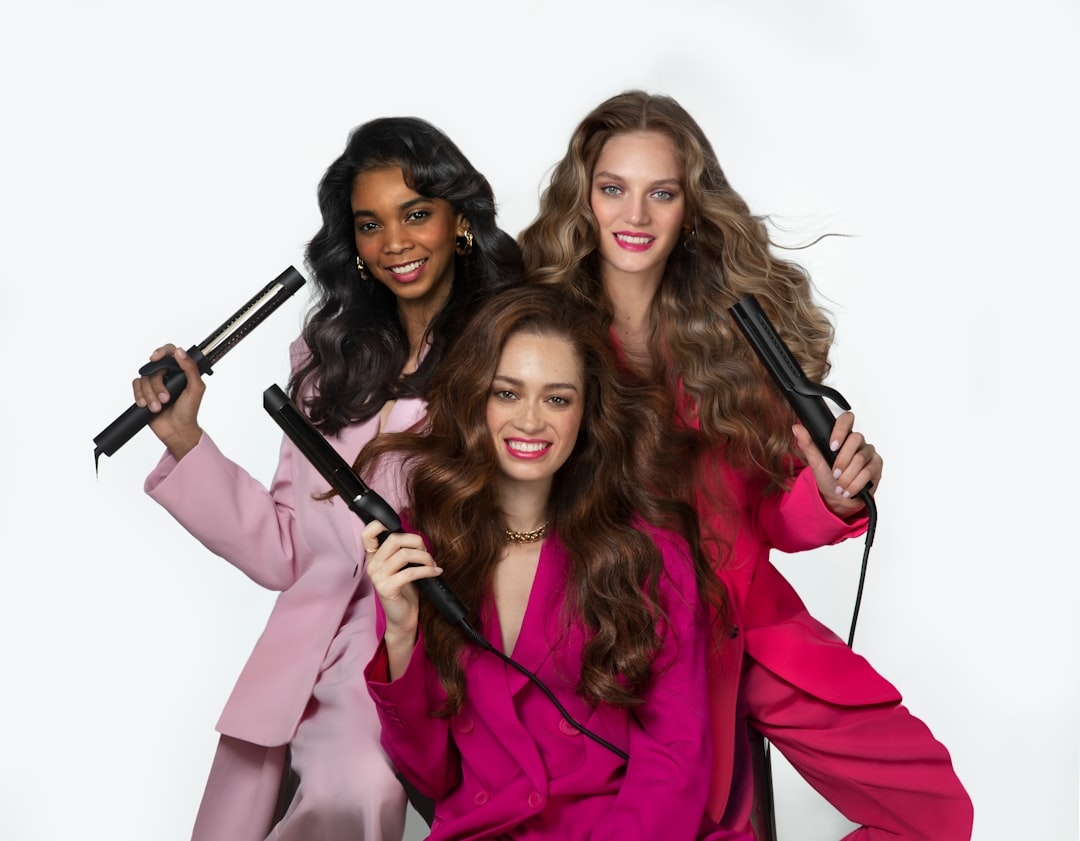
Selecting the Right Curling Iron for Your Hair Type
Barrel Size and Curl Type
Curling iron barrel size determines curl diameter. Smaller barrels (16-19mm) create tight ringlets or defined waves. Medium barrels (25-32mm) create bouncy curls with dimension. Large barrels (38-44mm) create loose waves with subtle curl. For small apartments where you’re practising and learning, a 25-32mm barrel is ideal—versatile enough for multiple curl styles but not so large that it’s unwieldy.
Cost ranges from £15-£20 for budget irons (basic heating, minimal temperature control) to £60-£150 for professional irons (precise temperature control, even heat distribution, ionic technology). For beginners, avoid budget irons—they have hot spots (areas significantly hotter than others) causing inconsistent curls. Mid-range irons (£25-£45) from brands like GHD, T3, or Dyson offer excellent temperature control without premium pricing.
Ionic vs. Non-Ionic Technology
Ionic curling irons emit negative ions that reduce frizz and seal the hair cuticle, creating shinier, smoother curls. Non-ionic irons don’t have this feature. If you have naturally frizzy hair, ionic irons (usually £35-£80) are worth the investment. If your hair is already smooth, the benefit is minimal and standard irons (£20-£40) work adequately.
How to Curl Hair with a Curling Iron: Step-by-Step Technique
Step 1: Prepare Your Hair
Blow-dry your hair completely. Damp or wet hair curls poorly because water prevents the heat from reaching the hair’s protein core. Additionally, partially dry hair straightens out as it finishes drying, undoing your curl work.
Apply a heat protectant spray (approximately £4-£8 per bottle, lasts 2-3 months) to protect your hair from heat damage. Let the spray dry for 30 seconds before using the curling iron. Apply styling mousse or setting spray (£3-£6) if your curls have a history of dropping—this temporarily sets the curl shape throughout the day.
Step 2: Section Your Hair
Divide your hair into sections approximately 5-7cm wide. Smaller sections create tighter curls; larger sections create looser waves. Clip up the sections you’re not currently curling using hair clips (cost: £1-£3, reusable for years). This prevents accidentally heating already-curled sections again, which causes damage from excessive heat exposure.
Step 3: Position the Curling Iron Correctly
Clamp a section of hair near the root (approximately 2-3cm from your scalp). Hold the iron at a 45-90 degree angle to your head. A 45-degree angle creates softer, looser waves; a 90-degree angle (iron barrel perpendicular to your head) creates tighter spirals. For beginners, start with 45 degrees to build confidence before attempting tighter curls.
Close the clamp and hold the iron there for 1-2 seconds before rotating.
Step 4: Rotate and Wrap the Hair
Rotate the barrel away from your face, wrapping hair around it as it rotates. Keep the tension consistent—neither so tight that you’re pulling your scalp uncomfortably, nor so loose that hair slides on the barrel. The hair should be snug against the barrel but not causing pain.
Continue rotating until the entire section is wrapped around the barrel. For a 5cm section at 45 degrees, this takes approximately 1.5-2 full rotations. You should feel tension in the hair but no pain in your scalp.
Step 5: Hold and Heat
Hold the curling iron in position, keeping the barrel rotating slowly, for 8-12 seconds. Temperature determines holding time: hotter iron (220°C) needs only 8 seconds; cooler iron (160°C) might need 15-20 seconds. Most professional stylists use 10-second holds as a standard.
During this hold, the heat is actively reshaping your hair’s protein bonds. Rushing this step (holding for 3-4 seconds) means the bonds don’t reform; the curl drops immediately. Most curl failures result from insufficient hold time, not technique errors.
Step 6: Release Gently
Open the clamp slowly and gently unwind the hair from the barrel. Do not yank. The curl is still setting during this moment. Pulling forcefully disrupts the shape. Let the hair fall naturally from the barrel, maintaining the curl shape with your hand as it cools for 2-3 seconds.
Step 7: Cool the Curl
As soon as the hair leaves the barrel, allow it to cool. The cooling process actually sets the curl permanently—this is where the hydrogen bonds reform in their new shape and stay there. You can hold the curl shape with your hand or pin it temporarily with a clip while it cools (approximately 30 seconds for smaller curls, up to 2 minutes for full-head curls).
This step is why salon curls last longer than home-curled hair—salons actively cool the curls (sometimes with cool shots of air from blow-dryers) immediately after curling. If you want long-lasting curls, don’t skip the cooling period.
Temperature Guidelines for Different Hair Types
Fine hair: 160-180°C maximum. Fine hair is delicate and damages easily at higher temperatures. You’ll still achieve beautiful curls at lower temperatures; they just take slightly longer to form. If your fine hair is prone to damage, stay at 160-170°C and extend holding time to 12-15 seconds.
Medium hair: 180-200°C. This is the “goldilocks” temperature—hot enough for reliable curl formation without excessive damage risk. Most people with medium hair have success in this range. Holding time: 10-12 seconds.
Coarse/thick hair: 200-230°C. Thick hair needs higher temperature because heat doesn’t penetrate as easily. Additional heat is necessary to reach the protein bonds throughout the hair shaft. Holding time: 12-15 seconds. Start at 200°C and increase only if curls aren’t forming after 2-3 attempts.
Heavily textured/curly hair: 180-210°C depending on density. Textured hair is often already delicate from its natural curl, so avoid excessive heat. Use the lower end of the range and extend holding time instead.
Regional Differences in Curling Iron Usage: UK Context
London and Southeast England popularise loose waves, achieved with large-barrel irons (38-44mm) at lower temperatures. Scotland and Northern England favour tighter, more defined curls, requiring smaller barrels (20-25mm) and slightly higher temperatures. Wales sees traditional pin curls and perms more commonly than hot curling iron use among older demographics.
These preferences reflect cultural aesthetics and product availability. London has density of professional salons using expensive, precise irons (£100-£300), allowing younger people to experiment with looser styles. Smaller towns have fewer options, so people rely on whatever iron they own and learn from YouTube tutorials using techniques they can replicate with basic equipment.
Regardless of regional preference, the fundamental technique is identical—heat, wrap, hold, cool. The aesthetics are simply expressed through barrel size and temperature adjustment.
Common Mistakes When Using Curling Irons
Mistake 1: Curling damp hair. Moisture prevents heat from reaching the hair’s protein core. Curls form only on the surface, dropping immediately as the hair finishes drying. Always completely blow-dry before curling.
Mistake 2: Not holding the curl long enough. This is the single most common error. Eight to twelve seconds is genuinely necessary. Most beginners hold for 3-4 seconds, producing loose waves that straighten out by midday. Commit to holding the recommended time—this determines curl longevity.
Mistake 3: Wrapping hair too loosely around the barrel. Hair needs to be in firm contact with the hot barrel for heat transfer. Loosely wrapped hair doesn’t heat uniformly, producing uneven, undefined curls. Wrap snugly (but not painfully tight) and maintain tension throughout the hold.
Mistake 4: Using too-hot temperature. Excessive heat damages hair visibly—frizz, brittleness, breakage develop quickly. Start at the lower recommended temperature for your hair type and increase only if curls aren’t forming. Slow but safe is better than fast but damaging.
Mistake 5: Not cooling the curl. The cooling process sets the curl shape permanently. Skipping this step (removing the curl and immediately touching it, brushing it, or moving on to the next section) prevents proper setting. Spend 30-60 seconds allowing each curl to cool before moving to the next section.
Heat Protectant and Styling Products: What Actually Helps
Heat protectant spray (cost: £4-£10 per bottle) genuinely protects by creating a moisture barrier on your hair shaft. Apply to damp hair before blow-drying. This step is not optional if you curl regularly (more than twice weekly). It extends your hair’s lifespan and reduces cumulative heat damage.
Setting spray or styling mousse (£3-£8) temporarily holds curl shape throughout the day. Apply before curling for maximum effect. Professional brands (Tresemmé, L’Oréal) work as well as premium brands at 1/4 the cost.
Avoid heavy oils or serums before curling—these create slippery surfaces where the hair can’t grip the barrel properly. Oil-based products are fine after the curl is fully cooled and set.
FAQ: Curling Hair with a Curling Iron
How long do curls from a curling iron last?
With proper technique (adequate hold time, proper cooling), curls typically last 12-24 hours. They gradually relax throughout the day as humidity and environmental factors affect the reformed hydrogen bonds. Fine hair curls may last 8-12 hours; thick hair curls may last 24-36 hours. Sleeping on the curls flattens them within hours.
Can you curl hair that has already been straightened the same day?
Yes, but your hair has experienced two rounds of heat damage (straightening plus curling). Apply heat protectant before each process and space them apart (morning straightening, evening curling) if possible. One round of heat daily is safer than two.
What’s the difference between a curling iron and a wand?
Curling irons have clamps holding the hair; wands don’t. Wands allow faster curling (no clamp adjustment needed) but require significant skill to avoid burns. Irons are safer for beginners. Once you’re confident, wands are actually faster (5-7 minutes for full head versus 10-15 minutes with irons).
Can you curl very short hair with a curling iron?
Technically yes if hair is at least 7-10cm long. For hair shorter than this, the barrel is too large relative to the hair section, and you can’t achieve consistent curls. Use a smaller wand (16-19mm) for short hair, or accept that very short hair isn’t ideal for curling iron curls. Pixie cuts and very short bobs are better suited to finger-waving or other techniques.
How often is it safe to curl your hair with heat?
Daily curling with proper heat protectant is safe for most hair types. The protection comes from using heat protectant spray before every session and not exceeding recommended temperatures for your hair type. However, 2-3 times weekly with complete hair care (deep conditioning weekly, regular trims) is the most sustainable frequency long-term.
Mastering Curling Iron Technique Today
Perfect your curling iron technique by practicing on one section repeatedly until you achieve consistent results. Hold the recommended time—this single factor determines 50% of your success. Watch your hand positioning in a mirror to ensure you’re wrapping correctly. Once one section is perfect, repeat across your entire head. The skill compounds with practice; by your 10th curl session, you’ll be producing salon-quality results instinctively. The equipment matters less than technique, so start with a mid-range iron and focus on mastering the mechanics properly.
+ There are no comments
Add yours